
Custom Search


We've all seen seat swaps at shows, this page may help you in your quest for a better "office chair". If you've never driven a Corvair with better seats, the performance advantage of a seat that holds you in position is considerable. I found being able to focus on driving instead of hanging on made driving a lot more fun, too.
First, bear in mind that seats are covered under almost all sanctioning bodies rules. Roughly speaking, there are three ways to go with seats:
For a stock class autocross car, generally you are limited to stock seats. However, rebuilding them can make them more comfortable, all the parts are avialable from the vendors to give you a seat that's as good as the one Chevy put in the Corvair. You can also get seat extenders if the driving position isn't to your liking, and if you do rebuild them it's possible to tweak the springs somewhat to make them better. Still, one of the most obvious advances since the '60s is where you sit, so let's move on.
To start with, be aware that there really aren't any seats you'll find that just bolt right in. They will all require some adapting, and remember that the seats belts only work well if the seat is mounted solidly. You should use at minimum the same size hardware as stock, and all of it should be Grade 5 or 8.
From Larry Claypool:
Seth Emerson answered the question of swaps from other GM models:There are 4 different Corvair seat bolt patterns: 62/64, 65/66, and 67/69, all increasingly narrower. 60/61 uses a different set up entirely with clamps rather than a direct bolt in at the front. SO... what worked in one corvair will not necessarily "bolt in" to another. Moral - bring your tape measure and specs [for your particular car] when seat shopping.
larry claypool
The bolt pattern from the adjuster rails to the floor may be different on various GM models. The pattern that is likely to be the same is the pattern from the rails up to the seat bottom. If you flip over a late "bucket" seat, you will see the 4-bolt pattern with the rails bolted to the pan of the seat. The rails had to be special to each model to allow the seat to be properly placed on various contoured floor pans, That is how you can swap a seat from drivers side to passenger side - (okay, there are a few trim differences as well) and the seat will still fit, as long as you re-use the rails. In 1966 almost all of the GM buckets - except the Corvair - went to narrower patterns, Corvairs made the jump in 1967.
Seth Emerson
Here are some swaps that have worked for other folks to help you with your junkyard hunting.
Our '62 wagon had no front seat rails when we got it, and we wanted buckets anyway. Rather than trying to install stock seats, Trevor found some "Awesome Racing Seats!" on Craigslist for $150, then we made rails to adapt the buckets to the car. Note that this install avoids having to drill holes for the inboard rails, the whole assembly bolts into the stock holes.
To summarize, the installation consists of cutting two lengths of angle iron to span the width of the car, these body rails bolt to the stock seat holes. Four short seat cross rails were then cut and drilled to attach to the bucket seat adjustment sliders. To put them in the car, first the long body rails were bolted into the car, then the individual seat cross rails were bolted to the seats. Finally the seat assemblies were attached to the body rails, all with grade 8 socket head bolts and nylock grade 8 nuts. See the photos below for more detail.
| Click on an image to see the full size version. | ||
|---|---|---|
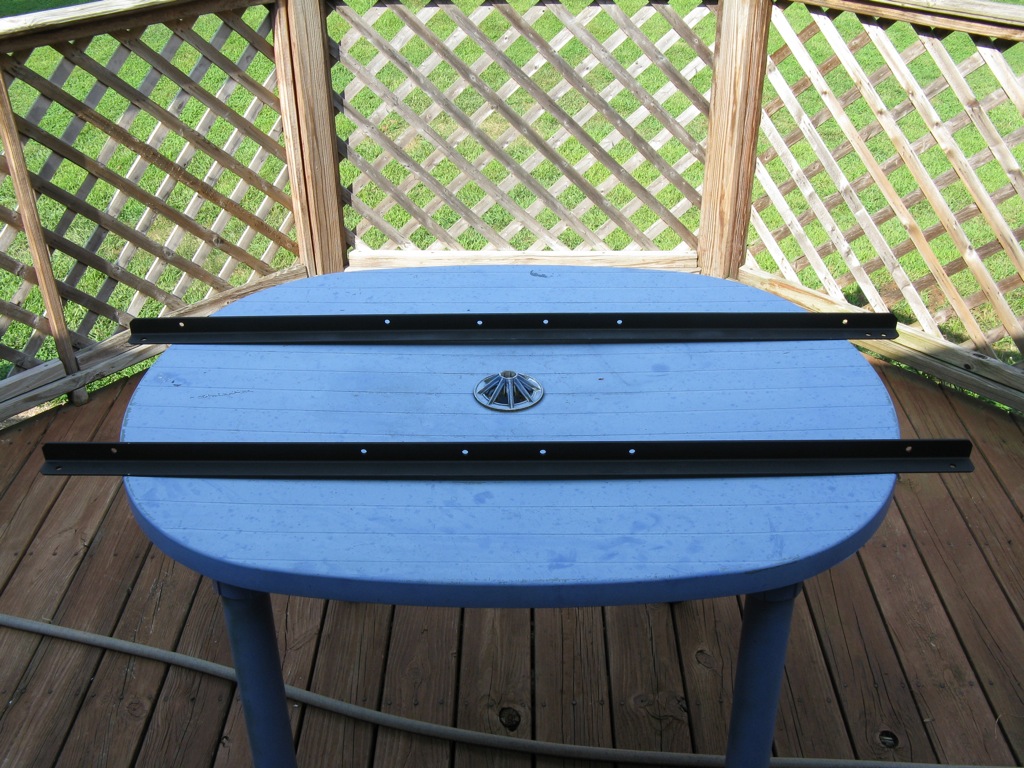
First we made a pair of rails to go across the car and bolt into the stock holes. |
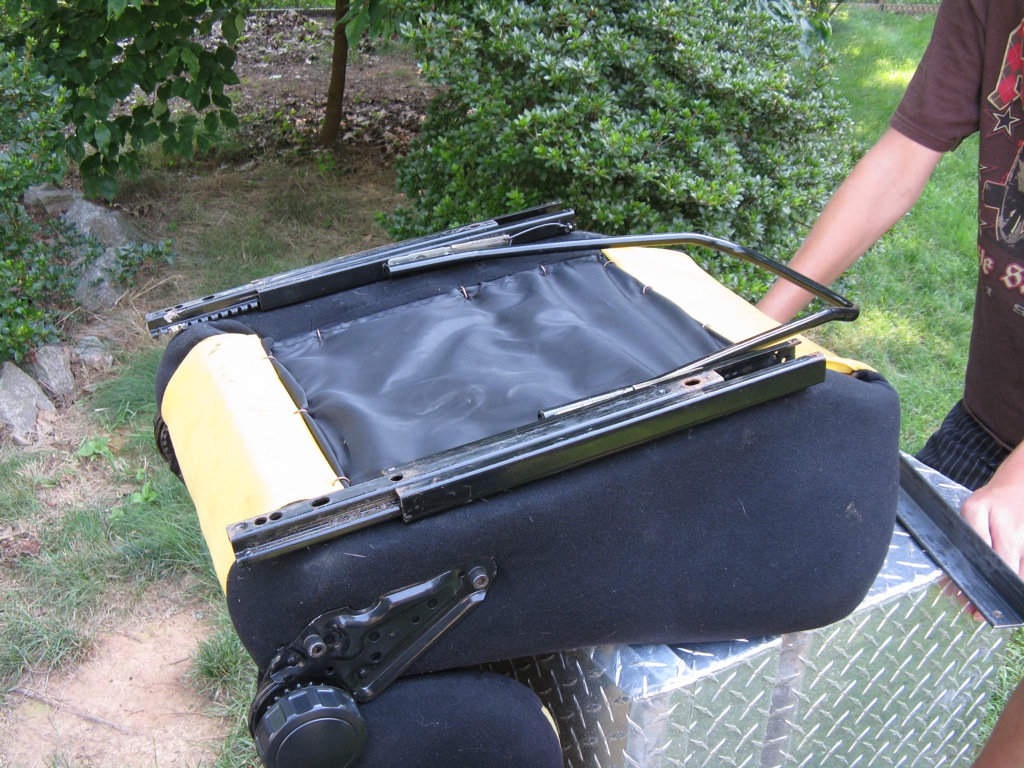
Our seats came with adjusting tracks. We cut another pair of angle iron pieces to bolt across these rails. They'll mate to the ones bolted to the car. |

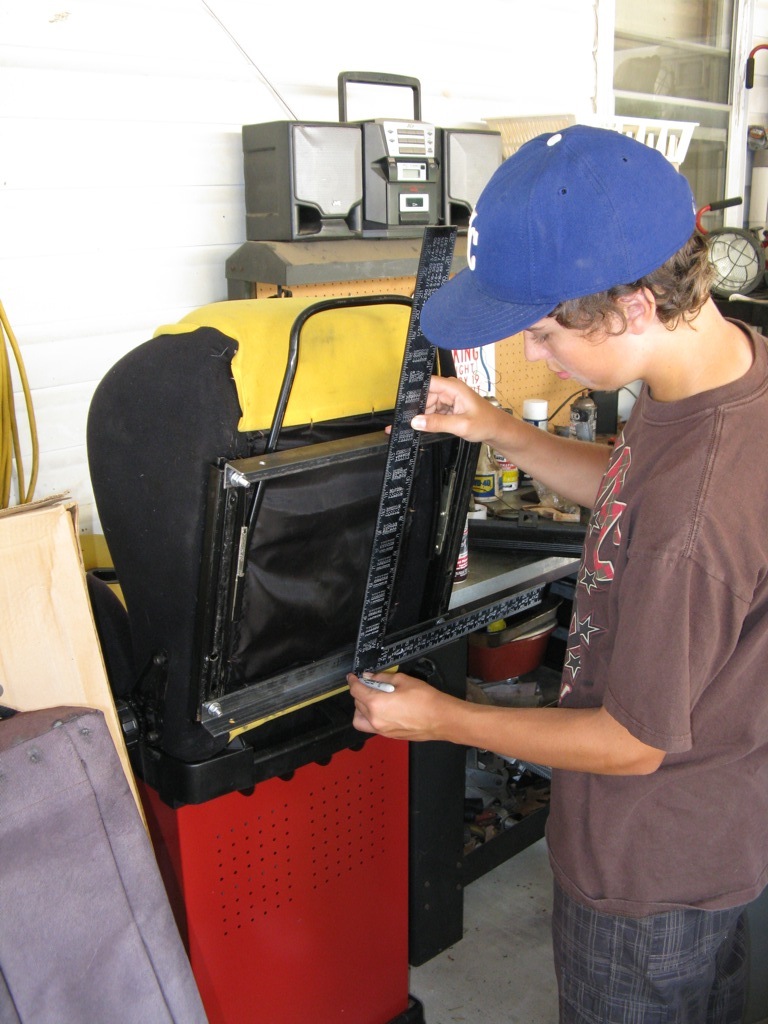
Here we square the adjusting slides and mark the short pieces for holes to bolt them onto the seat tracks. |
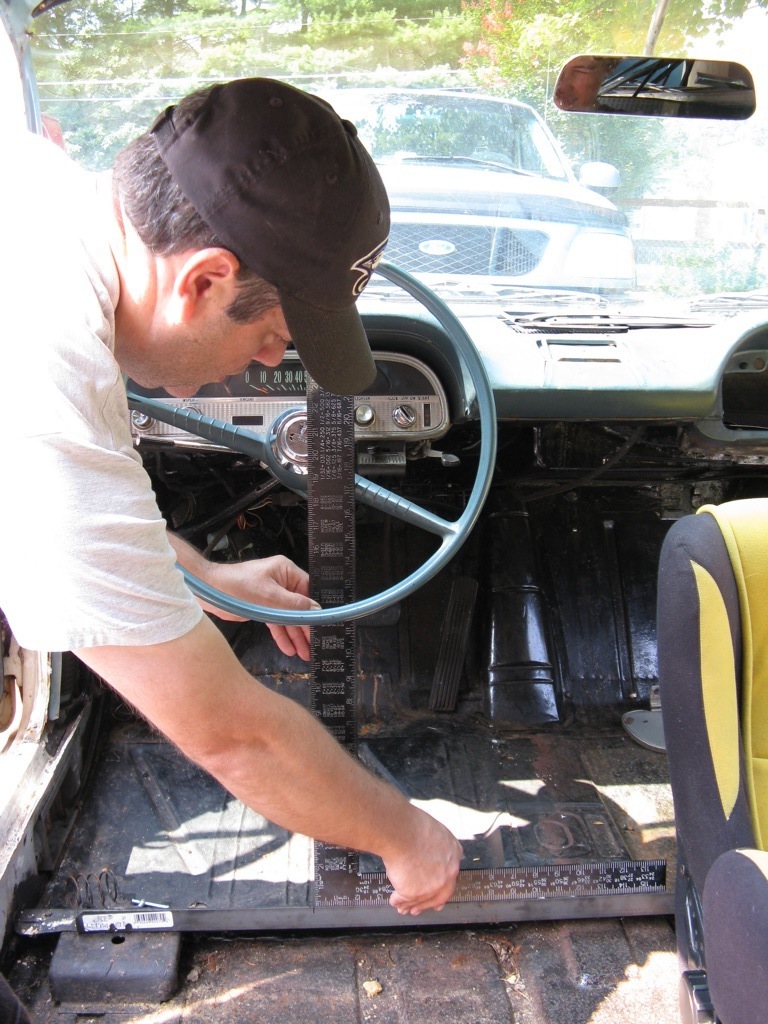
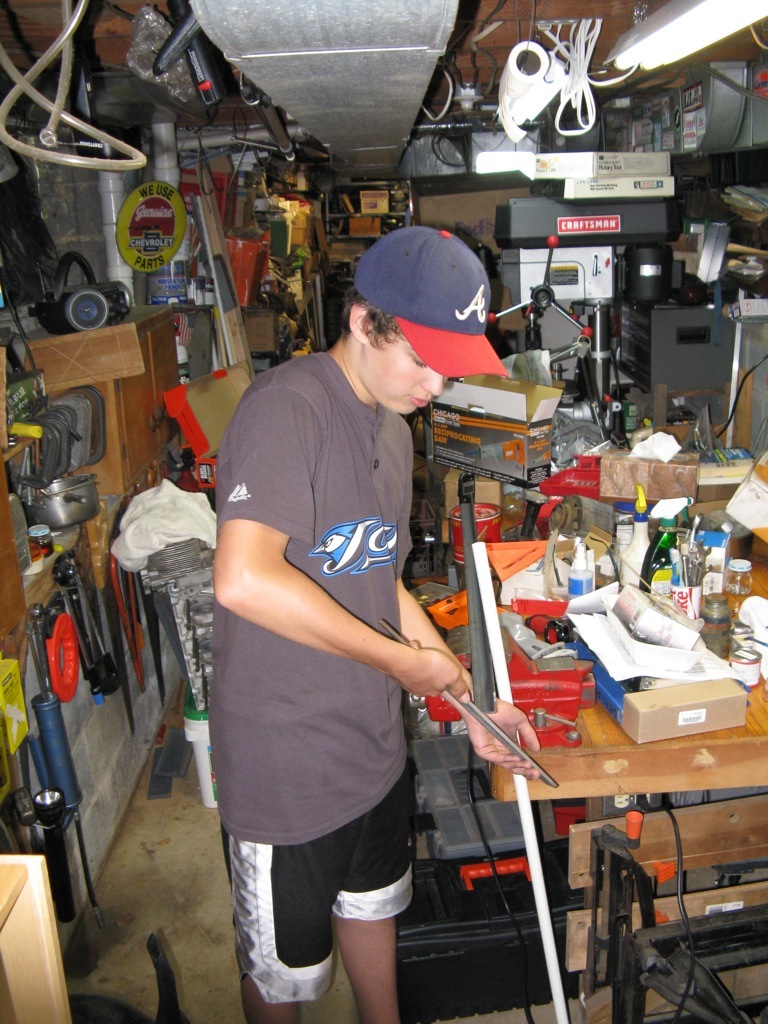
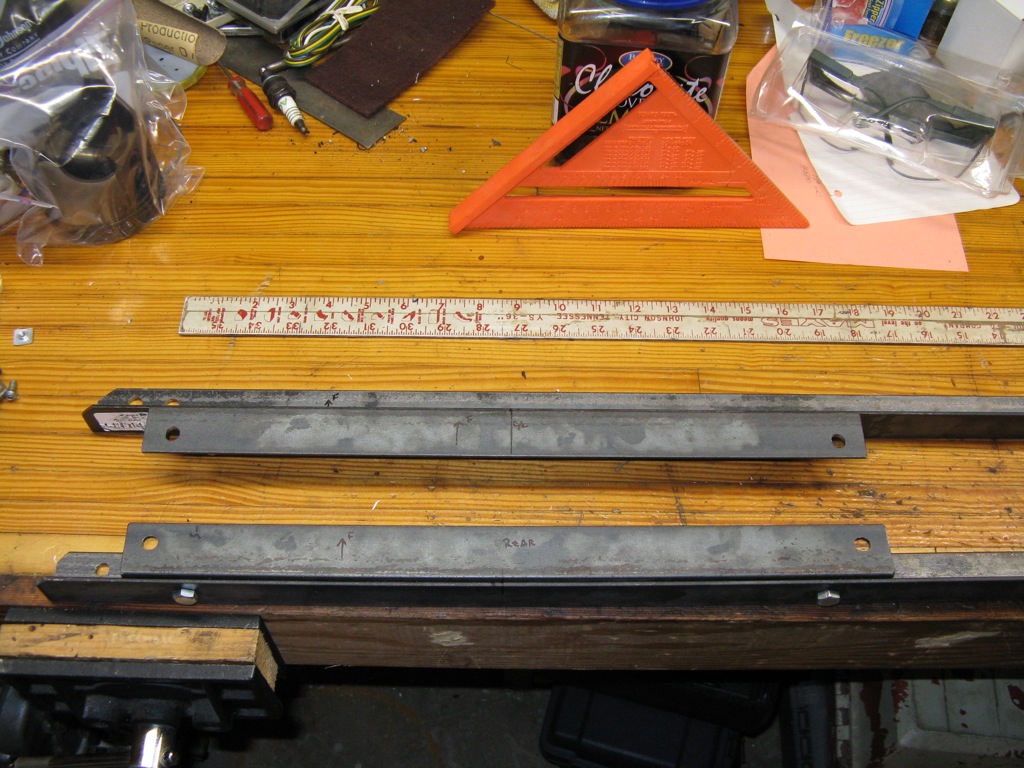
We make a mark relative to the center of steering wheel on the full width front rail, then use the square to also mark the rear. |
We measured and marked the center of the front seat cross bar, then use the square to mark the rear bar. |
Now line up the centerlines and drill holes to bolt the rails together. |
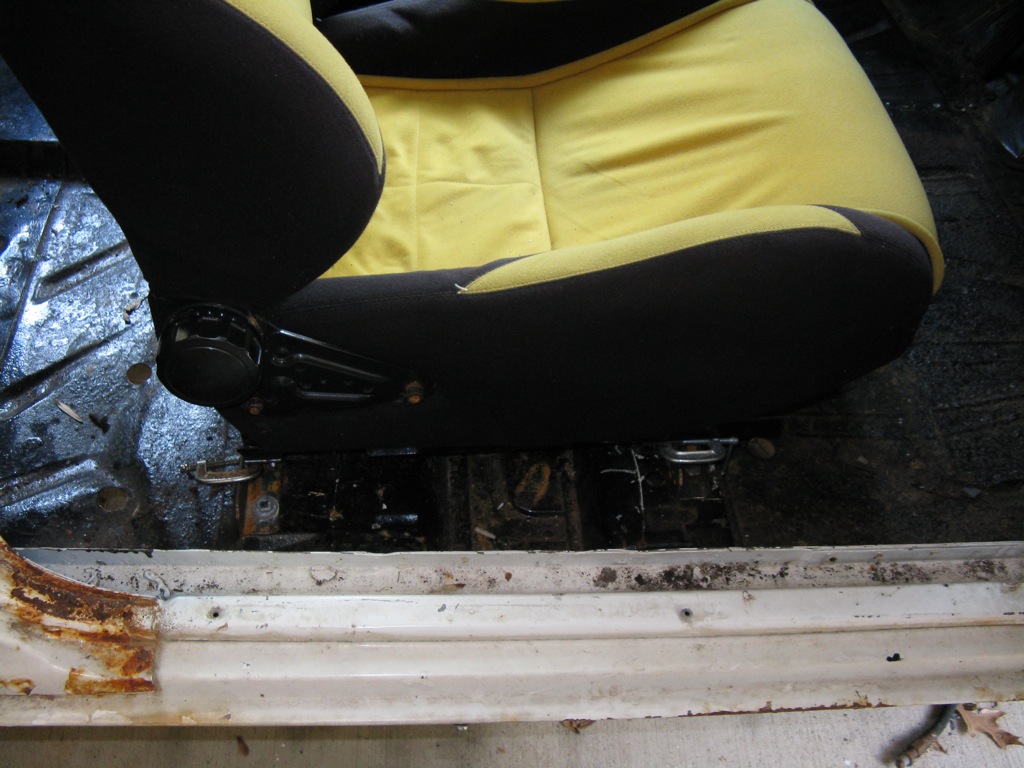
To align the passenger seat, we first installed the driver's seat, and measured from the rocker panel to the edge of the seat. Next, we set the passenger seat in place and aligned it to the same distance from the rocker panel, then clamped it in place. Next, we made alignment marks and drilled holes to bolt the seat rails onto the body rails. |
Right before installation, here's a shot of the painted cross body rails. There's an extra pair of holes front and rear for a future console. |
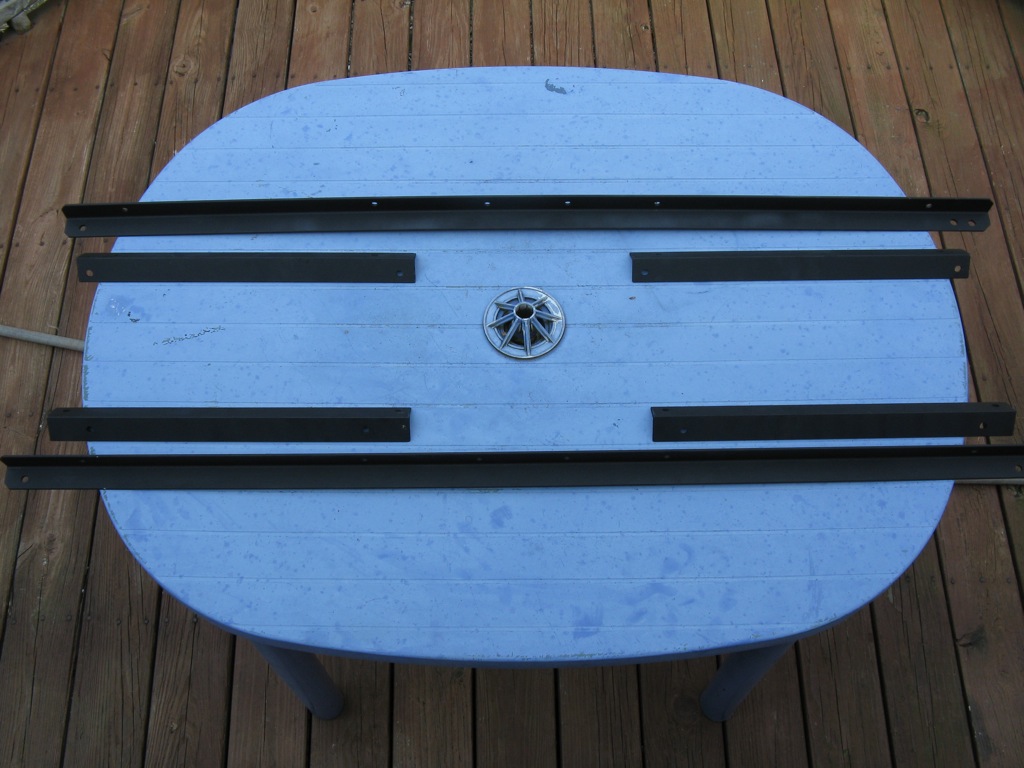
This photo shows the long body cross rails and the shorter seat rails. What you can't see is we also stamped them for location and direction so we could easily bolt them in. |

Another satisfied customer! |
||