
More than anything else, a good oil supply is crucial to keeping the engine alive.
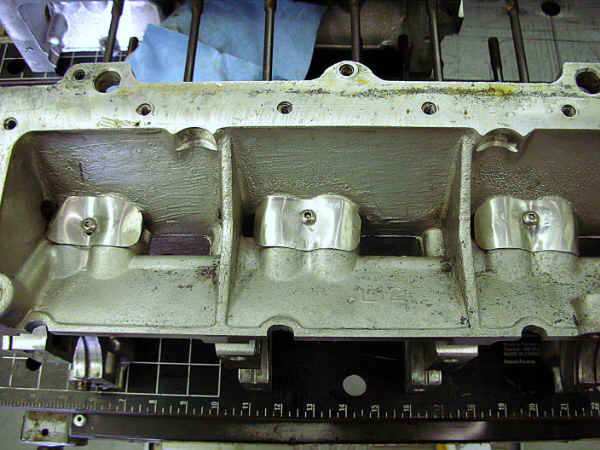
I have always used the individual baffles under the lifter bores as suggested in the Fisher How To Hot Rod Corvair Engines. Always works well. I also use a deep oil pan with the correct pickup. The baffles are held in place with screws using Loctite. Never had one fall out and even if it did it can go nowhere to cause any trouble.
I currently use these on my Sunoco Corvair track car and have had no oil starvation.
I always had a problem with the full sheet metal pan baffle concerning enough drain back holes. Speaking of that, I also drill out the engine case drain back holes to a larger size and round off and smooth everything inside the case.
| Click on an image to see the full size version. | |
|---|---|
 |
 |
 |
 |
| Images courtesy Rick Norris. | |
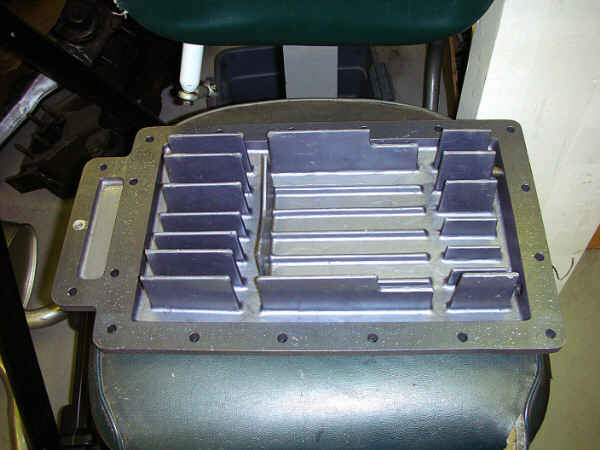
Here's an example of a full width baffle Bob made for his car. Note the large drain holes down the middle.
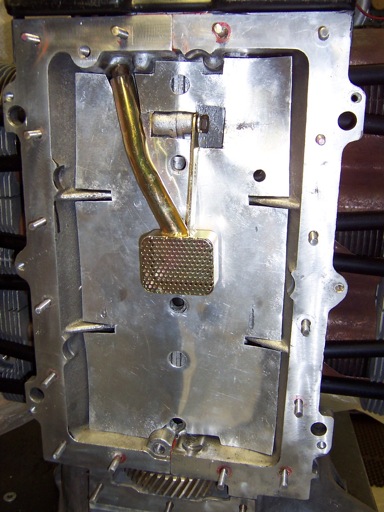
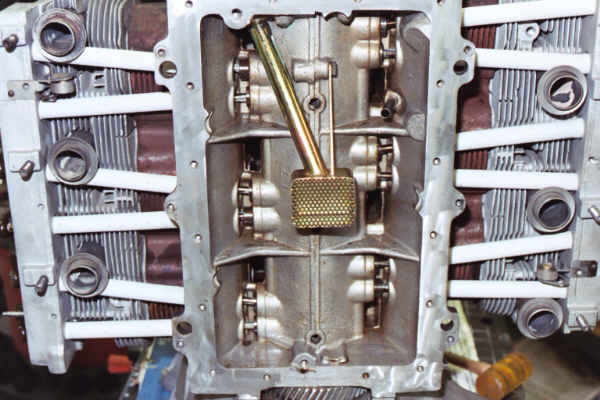
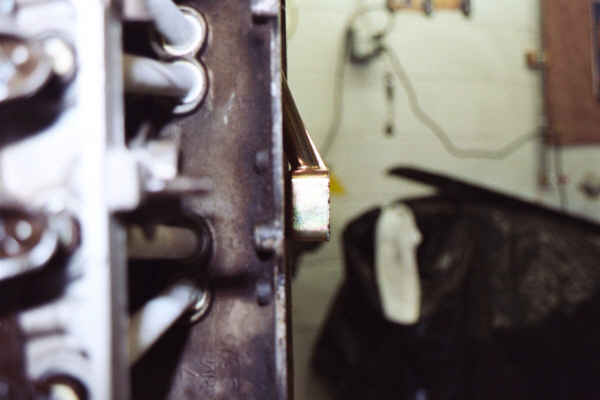
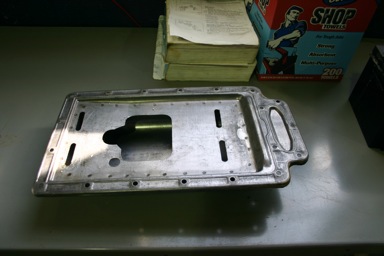
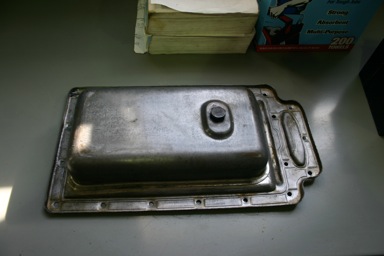
This pan came on a GM experimental engine made for military use. Gary Swiatowy worked on the engine and took the photos and wrote this:
This pan is real well made, with spot welds and what appears to be a seal of solder between what would have been the stock pan and the new sump. The baffle would also be great as a built in windage tray to prevent sloshing.
| Click on an image to see the full size version. | |
|---|---|
 |
 |
| Images courtesy Gary Swiatowy. | |
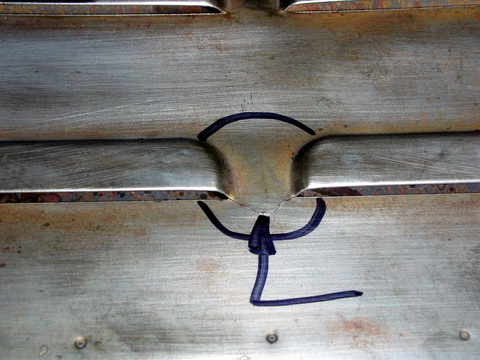
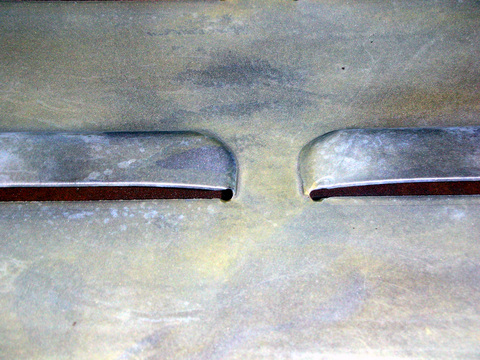
Rick Norris ran into a problem with the top baffle cracking, he did some checking and reported back his findings.
All the great racing minds in Corvairdom has enlightened me on another semi secret. The baffling baffle battle of broken metal fatgued at the corners.
I was unaware there were different thicknesses of baffles. The first thing I did when I got home today was go to the shop and measure the baffle that was in my racecar. It measured .030" thick. I then dug out one from a turbo engine pile, cleaned it up and measured it. It felt heavier and the measurement proved it. It came out at .040" thick! How bout that!
I was going to do some trick welding to the new one but, I liked what Ken "The Handy' said. I used my Dremel tool and a very small ball burr and radiused all the corners on the louver cuts where my old one cracked. I don't plan to hammer the car like I did at the school so I think this will work but, I will check often just to be sure. I don't want a connecting rod to let me know.
 |
 |
| Images courtesy Rick Norris. | |
|---|---|